|
|
|
 |
Photo Page |  |
|
Here's an ongoing history of the build.. |
||
|
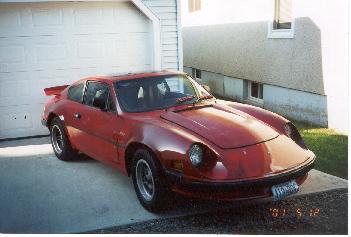
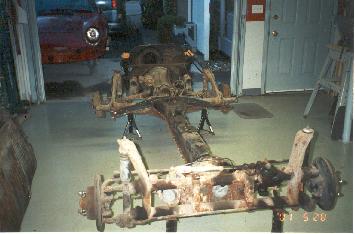
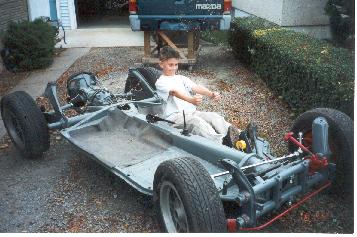
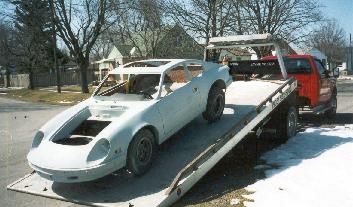
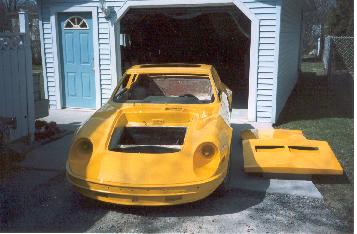
Fresh off the trailer |
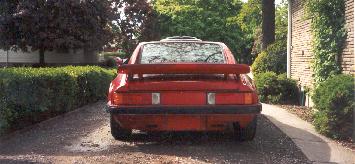
Wing I don't see no Stinking wing |
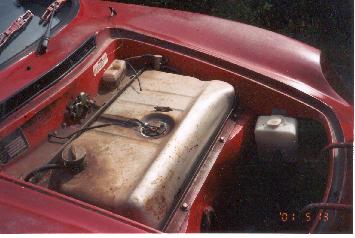
This is what I found under the gas tank!!!! |
|
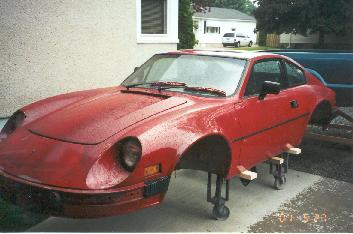
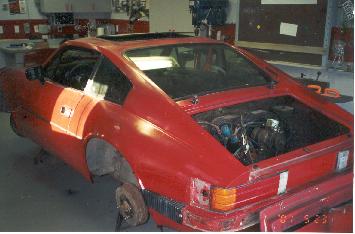
Getting right into it off came the body... |
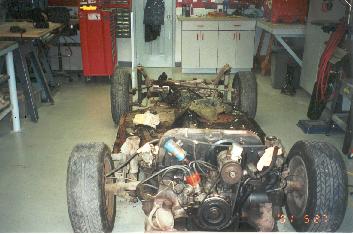
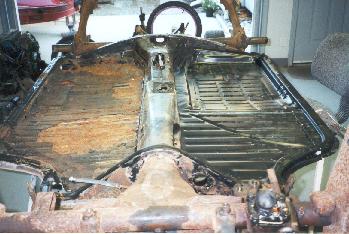
It turned out to be a real nightmare on the underside. The floors were completely shot along with the front axle beam... |
At this point I removed all the old pans drilling out each factory spot weld, all 230 of them... |
|
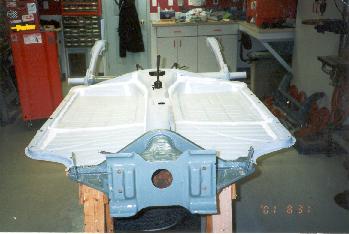
I had herd that a Ghia was the same pan as the Puma, No it's not!!!!! On to the Puma forum for some help. |
After a lot of cutting and a little #$(*^%$$# I was able to make the Ghia pans look very much at home. |
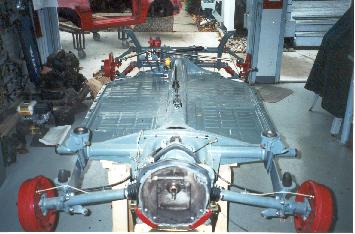
Down to Johns Bug Shop and out with a new adjustable beam and all kinds of new parts. Each and every nut, bolt factory part was beadblasted and then epoxy painted... |
|
Same deal for the rear of the car, I replace all the bearings, gaskets, cables, and brakelines. I spent a lot of time with a tube bender to fit each line correctly, it pays off in the long run... |
With a set of wheels back on it and my side kick Mikey driving we took it for a spin (Well in his mind anyway)...A lot of thanks goes out to John & Nancy Of Johns Bug Shop for all their help in finding me the correct parts... |
Take pictures of each and every stage they are a real help when it's time to put things back. Now which end is this???? |
|
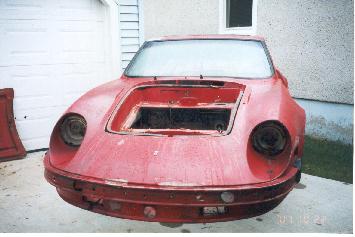
It was time to start the body work, everything was removed bagged and labeled along with a picture... |
All that is left here was to remove the glass and start removing the old paint... Be prepared for the unknown once the paint comes off, I ran into a few rather nasty spots that would require some glass work... |
I spent 5 weeks sanding out the entire car by hand. Next time I will spend the money to media blast. I had the chance to see this done on a Vette, the car was complete in just 2 days as to my 5 weeks... |
|
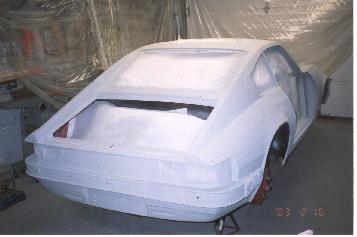
Now this was fun, 3 coats of PPG sealer and it was on to block sanding and high solids PPG primer. Please note a fiberglass car is not very straight. With 4 weeks spent on block sanding the car was looking very good or I was losing my mind... |
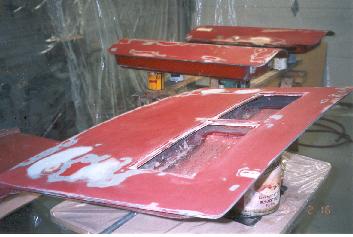
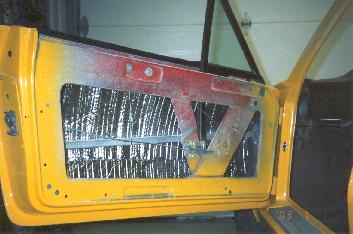
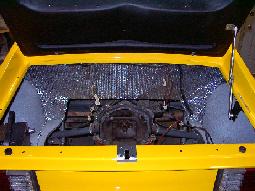
Did I forget to tell you it's going to be fly yellow. I painted all the inside of the doors and jams while the car was apart it makes for a very nice factory finished look. I also took the time to add sound proofing to all of the inside areas.... |
The big day, it was time to send it in to "Paint By Dave". A long time buddy who lays a hell of base clear. Thanks Dave.... |
|
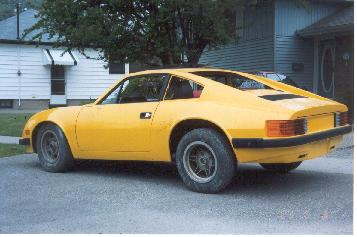
Put on your shades for this one. I had people stopping all day to see it and asking what it was. I was real proud to say it's a PUMA GTI, kool eh... |
This is when the fun starts putting on the details. Many thanks go out to Purring Puma, with their help I was able to replace a ton of the parts you see here. Great people, product and service, thank you. |
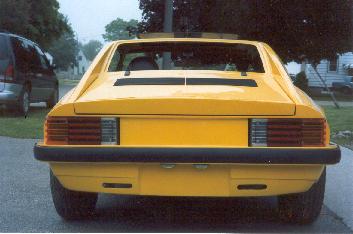
KOOL EH. All new tail lights, bumpers and tag lights. It is hard to see in the vent hole I added a black grill to the inside for the finished look... |
|
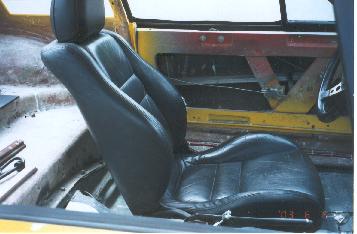
Back up a couple of pictures to the before shot. I spent a lot of time to make it look right. It should look just as good inside as it does outside... |
My wife and I spent a lot of time walking the bone yards in search of the right seats.(93 Mazda MX6 in leather) That's right I said my wife, after 26 years she is still putting with my projects... |
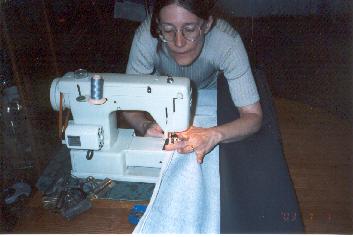
When the time came to do the interior you guessed it Joanne was right there, here she is sewing up the headliner. |
|
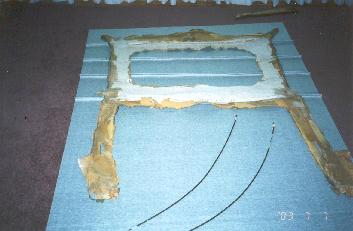
New headliner ready to install. It has been done in a slate grey to match the two tone black and grey door panels.. Just gotta love this girl... |
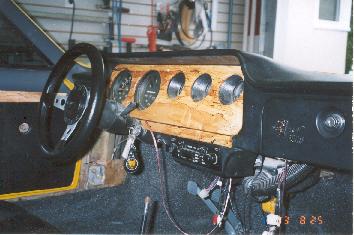
The dash was a real mess so I built a panel of spalted maple to overlay the center. I also carried this over to the door panels... |
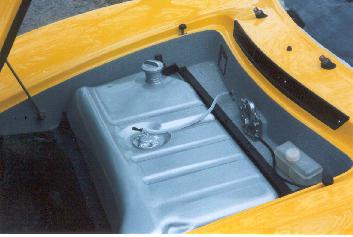
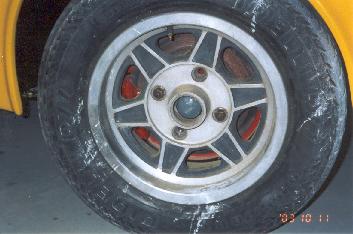
I was lucky to have a set of 5 factory wheels with the car. I am looking at a gun metal powdercoat???? Not sure yet... |
|
Just need a motor... |
Real soon I hope.... |
It's all in the details |